Getting Started
This section is intended to get Pylons up and running as fast as possible and provide a quick overview of the project. Links are provided throughout to encourage exploration of the various aspects of Pylons.
Requirements
- Python 2.3+ (Python 2.4+ highly recommended)
Installing
Warning
These instructions require Python 2.4+. For installing with Python 2.3, see Python 2.3 Installation Instructions.
To avoid conflicts with system-installed Python libraries, Pylons comes with a boot-strap Python script that sets up a “virtual” Python environment. Pylons will then be installed under the virtual environment.
By the Way
virtualenv is a useful tool to create isolated Python environments. In addition to isolating packages from possible system conflicts, it makes it easy to install Python libraries using easy_install without dumping lots of packages into the system-wide Python.
The other great benefit is that no root access is required since all modules are kept under the desired directory. This makes it easy to setup a working Pylons install on shared hosting providers and other systems where system-wide access is unavailable.
Download the go-pylons.py script.
Run the script and specify a directory for the virtual environment to be created under:
$ python go-pylons.py mydevenv
Tip
The two steps can be combined on unix systems with curl using the following short-cut:
$ curl http://pylonshq.com/download/0.9.7/go-pylons.py | python - mydevenv
To isolate further from additional system-wide Python libraries, run with the –no-site-packages option:
$ python go-pylons.py --no-site-packages mydevenv
This will leave a functional virtualenv and Pylons installation. Activate the virtual environment (scripts may also be run by specifying the full path to the mydevenv/bin dir):
$ source mydevenv/bin/activate
Or on Window to activate:
> mydevenv\bin\activate.bat
Working Directly From the Source Code
Mercurial must be installed to retrieve the latest development source for Pylons. Mercurial packages are also available for Windows, MacOSX, and other OS’s.
Check out the latest code:
$ hg clone https://www.knowledgetap.com/hg/pylons-dev Pylons
To tell setuptools to use the version in the Pylons directory:
$ cd Pylons
$ python setup.py develop
The active version of Pylons is now the copy in this directory, and changes made there will be reflected for Pylons apps running.
Creating a Pylons Project
Create a new project named helloworld with the following command:
$ paster create -t pylons helloworld
Note
Windows users must configure their PATH as described in Windows Notes, otherwise they must specify the full path to the paster command (including the virtual environment bin directory).
Running this will prompt for two choices:
- which templating engine to use
- whether to include SQLAlchemy support
Hit enter at each prompt to accept the defaults (Mako templating, no SQLAlchemy).
Here is the created directory structure with links to more information:
- helloworld
- MANIFEST.in
- README.txt
- development.ini - Runtime Configuration
- docs
- ez_setup.py
- helloworld (See the nested helloworld directory)
- helloworld.egg-info
- setup.cfg
- setup.py - Application Setup
- test.ini
The nested helloworld directory looks like this:
- helloworld
__init__.py
- config
- environment.py - Environment
- middleware.py - Middleware
- routing.py - URL Configuration
controllers - Controllers
- lib
- app_globals.py - app_globals
- base.py
- helpers.py - Helpers
model - Models
public
templates - Templates
tests - Unit and functional testing
websetup.py - Runtime Configuration
Running the application
Run the web application:
$ cd helloworld
$ paster serve --reload development.ini
The command loads the project’s server configuration file in development.ini and serves the Pylons application.
Note
The --reload option ensures that the server is automatically reloaded if changes are made to Python files or the development.ini config file. This is very useful during development. To stop the server press Ctrl+c or the platform’s equivalent.
Visiting http://127.0.0.1:5000/ when the server is running will show the welcome page.
Hello World
To create the basic hello world application, first create a controller in the project to handle requests:
$ paster controller hello
Open the helloworld/controllers/hello.py module that was created. The default controller will return just the string ‘Hello World’:
import logging

from pylons import request, response, session, tmpl_context as c
from pylons.controllers.util import abort, redirect_to

from helloworld.lib.base import BaseController, render

log = logging.getLogger(__name__)

class HelloController(BaseController):

    def index(self):
        # Return a rendered template
        #return render('/hello.mako')
        # or, Return a response
        return 'Hello World'
At the top of the module, some commonly used objects are imported automatically.
Navigate to http://127.0.0.1:5000/hello/index where there should be a short text string saying “Hello World” (start up the app if needed):
Tip
URL Configuration explains how URL’s get mapped to controllers and their methods.
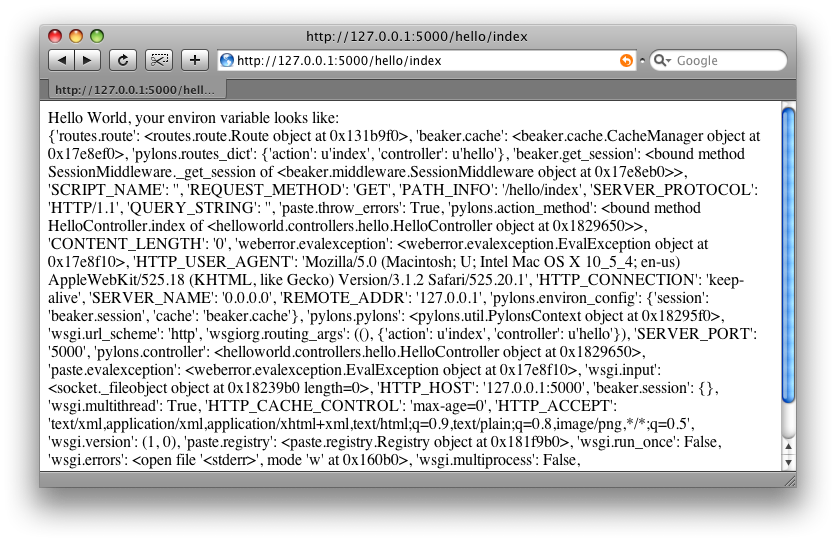
Add a template to render some of the information that’s in the environ.
First, create a hello.mako file in the templates directory with the following contents:
Hello World, the environ variable looks like: <br />

${request.environ}
The request variable in templates is used to get information about the current request. Template globals lists all the variables Pylons makes available for use in templates.
Next, update the controllers/hello.py module so that the index method is as follows:
class HelloController(BaseController):

    def index(self):
        return render('/hello.mako')
Refreshing the page in the browser will now look similar to this: